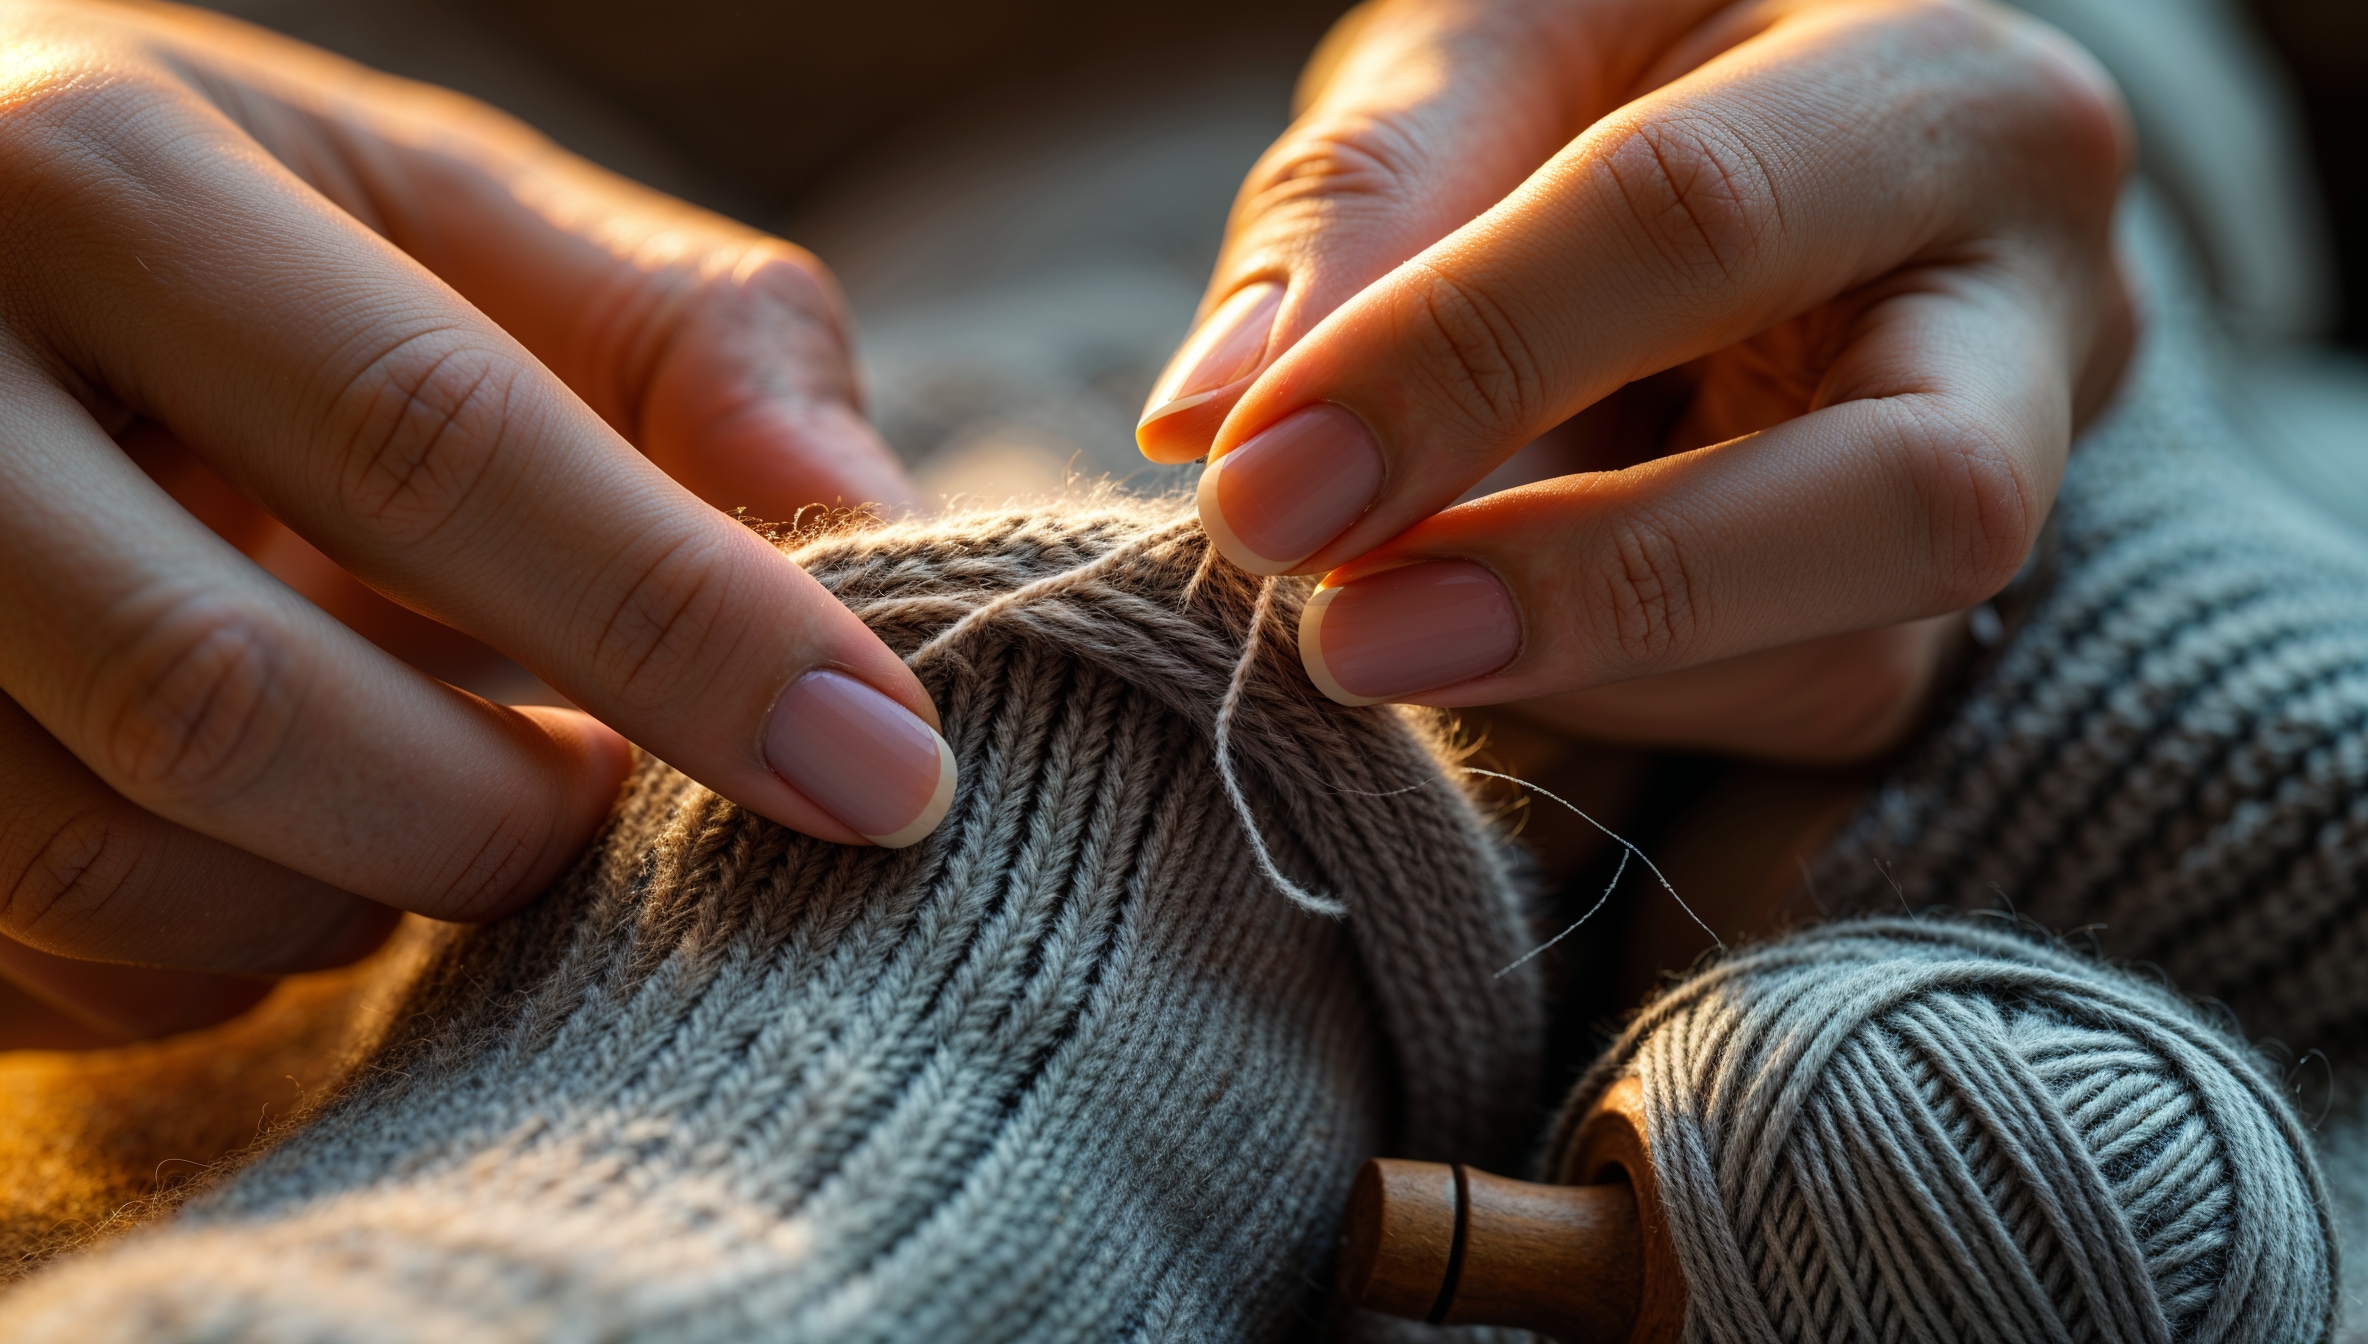
Learn How to Darn Socks to Save Money! This comprehensive guide teaches you the art of sock darning, extending the life of your socks and saving you money.
How to Darn Socks to Save Money
Why Darn Socks? The Financial Sense of Mending
In today’s throwaway culture, it’s easy to simply chuck a sock with a hole and buy a new pair. However, this seemingly small act adds up over time. Consider the cost of a decent pair of socks. Now multiply that by the number of socks you discard each year due to holes, typically in the heel or toe. Darning, the art of repairing fabric by weaving new threads over a damaged area, offers a sustainable and economical alternative. Learning how to darn socks can save you a considerable amount of money in the long run. It also reduces textile waste, contributing to a more environmentally friendly lifestyle.
Gathering Your Darning Supplies
Before you begin, you’ll need to assemble a few essential tools. These are readily available and relatively inexpensive:
- Darning needle: A long, blunt-ended needle with a large eye is ideal for threading thicker yarns.
- Darning mushroom or egg: A smooth, rounded object provides a firm surface to work on and helps maintain the sock’s shape. You can use a purpose-made darning mushroom, a light bulb, or even a lemon!
- Darning yarn: Choose a yarn that closely matches the colour and weight of your sock. Wool or cotton yarns are good choices for most socks.
- Scissors: Small, sharp scissors are needed for trimming loose ends.
- Optional: A needle threader can be helpful, especially for those with poor eyesight.
Preparing the Sock for Darning
First, turn the sock inside out. This allows you to work on the underside of the fabric, creating a neater repair on the right side. Carefully inspect the hole to identify any frayed edges. Trim away any loose threads to create a clean working area. Place the darning mushroom or egg inside the sock, positioning it so the hole is stretched taut over the rounded surface. This provides a stable base for your stitching.
The Basic Darning Technique: Weaving a New Foundation
Thread your darning needle with a length of darning yarn. Knot the end of the yarn. Now, begin anchoring the yarn to the sock fabric around the edges of the hole. The goal is to create a new foundation of parallel threads across the gap.
1. Starting about half an inch from the edge of the hole, bring the needle up through the fabric.
2. Take a small stitch along the edge of the hole, then bring the needle back down through the fabric on the opposite side, also about half an inch from the edge.
3. Continue making these parallel stitches, working back and forth across the hole, until you have created a grid of threads spanning the gap. Space the threads close together to provide a solid base for the next step.
Filling in the Weave: Creating a Solid Patch
Once you have created the foundation of parallel threads, you can begin weaving the darning yarn over and under these threads to create a solid patch.
1. Thread your darning needle with a new length of darning yarn.
2. Starting at one side of the darned area, weave the needle over and under the parallel threads, alternating with each thread.
3. When you reach the other side, turn the sock around and continue weaving back in the opposite direction, this time alternating the over-under pattern so that you are weaving over the threads you previously went under, and under the threads you previously went over.
4. Continue weaving in this manner, working back and forth, until the entire hole is filled in. Ensure the weave is tight and even, and that the new patch blends smoothly with the surrounding fabric.
Finishing Off the Darn
Once the hole is completely covered, secure the ends of the darning yarn by weaving them into the surrounding stitches. This will prevent the darn from unravelling. Trim any excess yarn. Remove the darning mushroom or egg. Turn the sock right side out. Your darned sock is now ready to wear!
Practice Makes Perfect
Darning can seem daunting at first, but with a little practice, you’ll quickly master the technique. Don’t be discouraged if your first few attempts aren’t perfect. Just keep practising, and you’ll soon be darning socks like a pro.
Beyond Basic Darning: Advanced Techniques
Once you’re comfortable with the basic darning technique, you can explore more advanced methods, such as using different colours of yarn to create decorative patches or experimenting with different weaving patterns. There are countless resources available online, including tutorials and videos, that can help you expand your darning skills.
The Long-Term Benefits of Darning
Learning how to darn socks is an investment in your future. Not only will you save money on socks, but you’ll also develop a valuable skill that can be applied to repairing other items of clothing. By embracing the art of darning, you can reduce waste, save money, and contribute to a more sustainable lifestyle. So, next time you find a hole in your sock, don’t throw it away – darn it!
