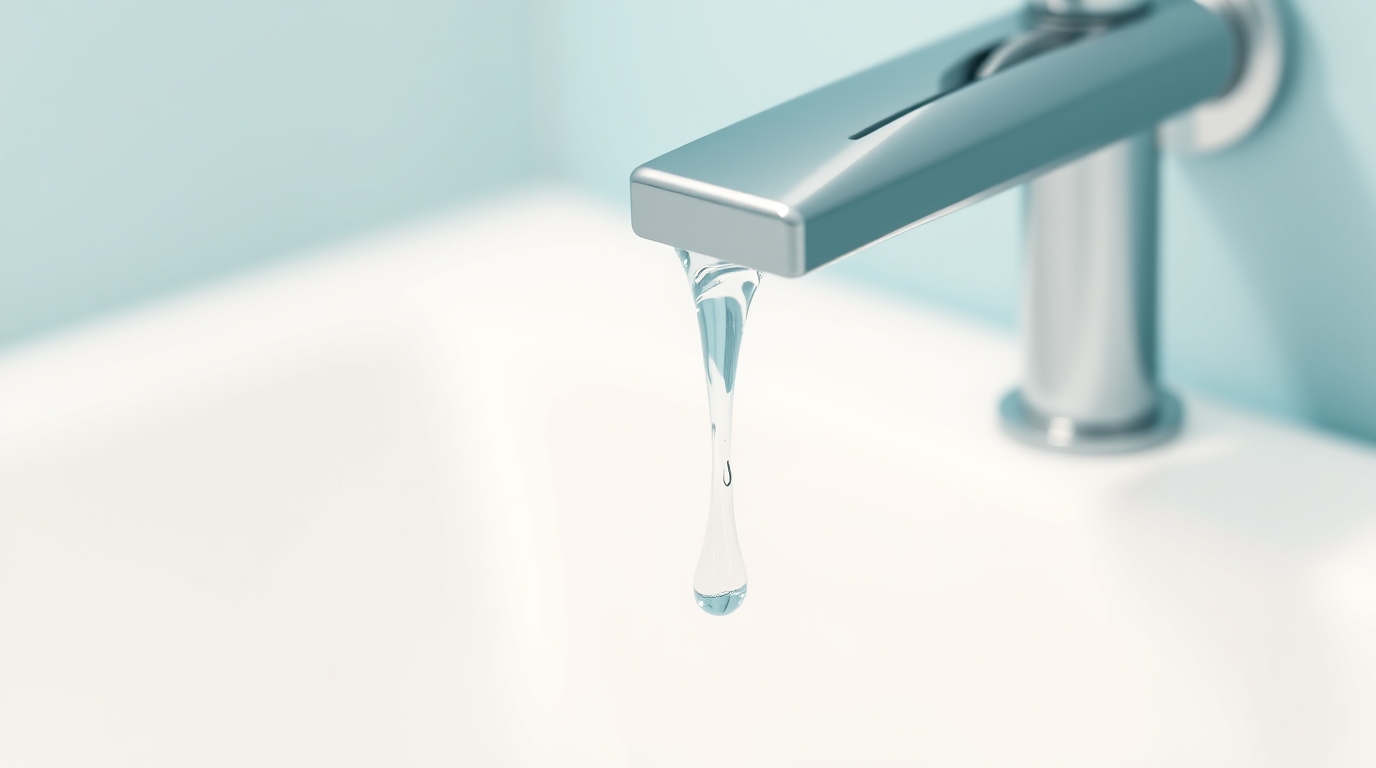
Learn How to Fix a Leaky Tap with our easy-to-follow guide. Stop wasting water and save money by tackling this common household problem yourself.
How to Fix a Leaky Tap: A Step-by-Step Guide
A dripping tap can be incredibly annoying and a significant waste of water, leading to higher water bills. Thankfully, fixing a leaky tap is often a straightforward DIY task that can save you money and hassle. This guide will walk you through the process, covering the common causes of leaky taps and how to address them. Remember to always turn off the water supply before starting any plumbing work!
Identifying the Type of Tap
Before you begin, it’s crucial to identify the type of tap you’re dealing with. The most common types are:
- Compression taps: These have separate hot and cold taps and typically use rubber washers.
- Ceramic disc taps: These have a single lever or two handles that control both water flow and temperature.
- Ball taps: Older style taps with a single handle that moves left to right and up and down.
- Mixer taps: These blend hot and cold water before it comes out of the spout, and can be any of the mechanisms described above.
Knowing the type of tap will help you determine the specific parts you need to replace.
Gathering Your Tools and Materials
Having the right tools at hand will make the job much easier. You’ll likely need:
- Adjustable spanner
- Screwdrivers (flathead and Phillips head)
- Pliers
- New washers or cartridges (depending on the type of tap)
- Replacement O-rings (various sizes)
- Plumber’s grease (silicone-based)
- Cloth or rag
- Old towel to protect the sink
Turning Off the Water Supply
This is the most important step! Locate the isolation valve(s) for the tap, usually found under the sink. Turn them clockwise until they are completely closed. If you can’t find isolation valves, you’ll need to turn off the main water supply to your house.
Disassembling the Tap (Compression Tap Example)
This section focuses on fixing a leaky compression tap, as it’s the most common type and demonstrates the basic principles. Other tap types will have similar disassembly steps, though the components may look different.
1. Remove the decorative cap on the tap handle. This may require gentle prying with a flathead screwdriver. Be careful not to scratch the tap.
2. Unscrew the handle screw. This is usually a Phillips head screw.
3. Remove the tap handle.
4. Unscrew the valve cover or shroud. This may be threaded or secured with a screw.
5. Using an adjustable spanner, carefully unscrew the valve assembly.
6. Inspect the rubber washer at the bottom of the valve assembly. This is the most common culprit for leaks.
Replacing the Washer
If the washer is worn, cracked, or flattened, replace it with a new one of the same size and type. Make sure the new washer is seated correctly.
Reassembling the Tap (Compression Tap Example)
1. Apply a small amount of plumber’s grease to the threads of the valve assembly and to the new washer. This will help prevent leaks and make future disassembly easier.
2. Screw the valve assembly back into the tap body, tightening it securely with the adjustable spanner. Be careful not to overtighten.
3. Replace the valve cover or shroud.
4. Reattach the tap handle, securing it with the handle screw.
5. Replace the decorative cap.
Turning the Water Back On and Testing
Slowly turn the water supply back on, either at the isolation valve or the main water supply. Check for leaks around the tap body, spout, and handle. If you still have a leak, double-check that the washer is seated correctly and that all connections are tight.
Dealing with Other Types of Taps
- Ceramic Disc Taps: These taps usually leak because of a worn-out ceramic disc cartridge. The cartridge needs to be replaced. The process involves removing the handle, unscrewing the cartridge retaining nut, and pulling out the old cartridge. Make sure to get the correct replacement cartridge for your tap model.
- Ball Taps: Leaks in ball taps are often caused by worn O-rings or valve seats. You’ll need to disassemble the tap to access these components and replace them.
- Mixer Taps: Follow the disassembly process for the mechanism within the mixer tap (compression, ceramic disc, ball).
When to Call a Plumber
If you’re uncomfortable with any of these steps, or if you’ve tried replacing the washer or cartridge and the tap is still leaking, it’s best to call a qualified plumber. They have the experience and tools to diagnose and fix more complex plumbing problems. Similarly, if the tap body itself is cracked or damaged, you’ll likely need to replace the entire tap, which is often best left to a professional.
FAQ
How do I know if I need to replace the whole tap?
If the tap body is cracked, corroded, or the threads are damaged, replacement is usually the best option.
What if I can’t find the isolation valve?
If you can’t find isolation valves, you’ll need to turn off the main water supply to your house. This is usually located near the water meter.
How do I choose the right replacement washer?
Take the old washer with you to the hardware store to ensure you get a matching size and type.
external_links:
