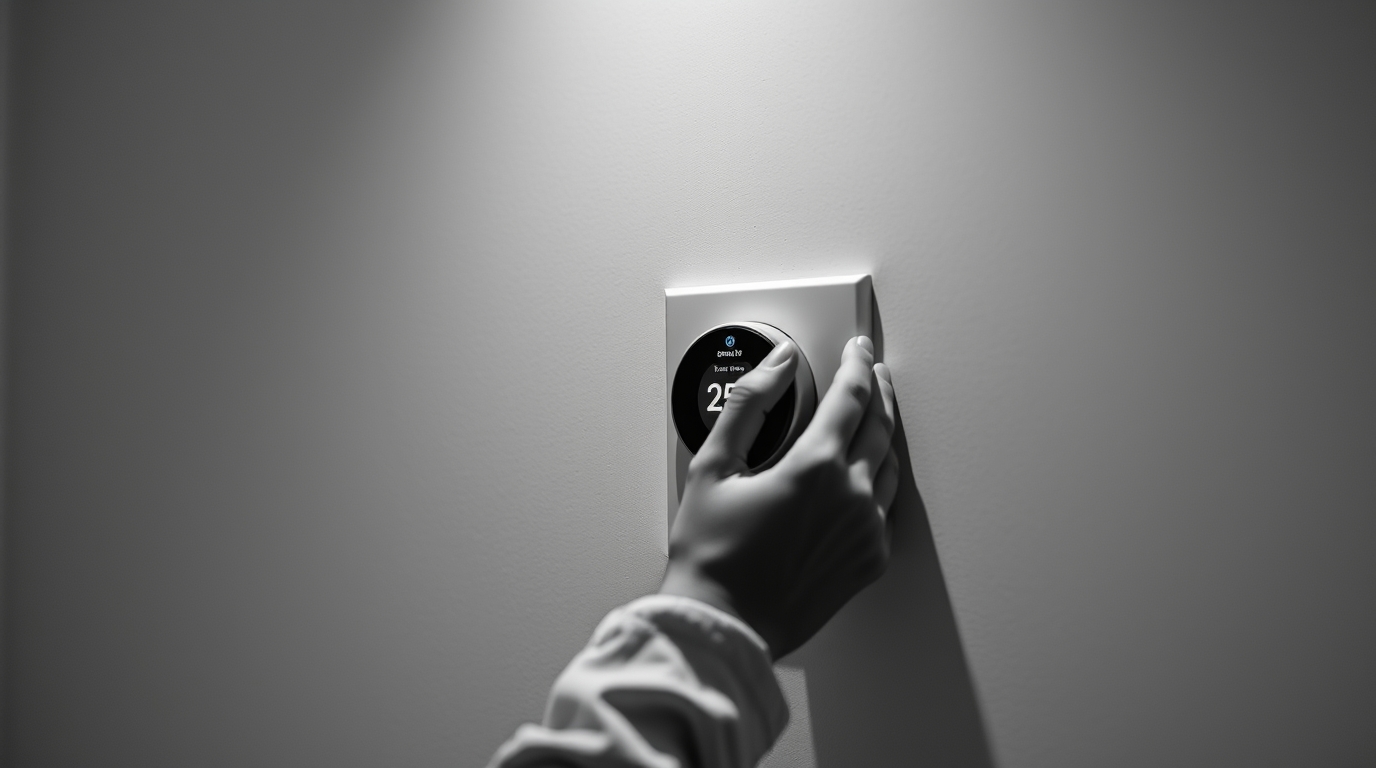
How to Install a Smart Thermostat Yourself: A comprehensive guide to upgrading your home heating system.
How to Install a Smart Thermostat Yourself
Upgrading to a smart thermostat can significantly enhance your home’s energy efficiency and convenience. These thermostats allow you to control your heating remotely, learn your heating patterns, and even integrate with other smart home devices. While professional installation is always an option, installing a smart thermostat yourself is a manageable task for most homeowners with basic DIY skills. This guide provides a step-by-step walkthrough of the process.
Before You Begin: Safety First
Before touching any wiring, it’s absolutely crucial to turn off the power to your heating system at the main circuit breaker. Locate the breaker labelled ‘Heating’, ‘Furnace’, or ‘HVAC’ and switch it off. Double-check it’s off by testing your old thermostat – it should be completely unresponsive. This simple step is the most important to prevent electric shock. Also, read the smart thermostat’s installation manual thoroughly before you even think about touching a screwdriver.
Gather Your Tools and Materials
You’ll need a few essential tools for a smooth installation:
- A Phillips head screwdriver (various sizes)
- A flathead screwdriver
- Wire strippers
- Wire connectors (usually provided with the thermostat)
- A voltage tester (to confirm power is off)
- A mobile phone or camera
- Masking tape and a pen or marker
Removing Your Old Thermostat
Firstly, carefully remove the cover of your old thermostat. You may need to use a small screwdriver to gently pry it off. Once the cover is off, you’ll see the wiring connected to the base plate. This is where your mobile phone camera comes in handy. Take a clear picture of the wiring, noting the colour of each wire and which terminal it’s connected to. This photograph will be invaluable when connecting the new thermostat.
Next, carefully disconnect the wires from the old thermostat. Use masking tape and a pen to label each wire with its corresponding terminal label (e.g., “R”, “W”, “G”, “C”). This will prevent confusion later. Use the wire strippers if necessary, to reveal clean wire if the existing connections are corroded. Once all wires are disconnected, unscrew the base plate from the wall and remove it completely.
Installing the Smart Thermostat Base Plate
Mount the new smart thermostat base plate to the wall, using the screws provided. Use a spirit level to ensure it is perfectly level. The holes may not align with the old thermostat’s holes, so you might need to drill new ones. If you’re drilling into plasterboard, use wall plugs for a secure fixing.
Connecting the Wiring
This is the most crucial step. Carefully refer to the photograph you took of the old thermostat wiring, and the wiring diagram provided in the smart thermostat’s installation manual. Connect each wire to the corresponding terminal on the new thermostat base plate. Secure the wires tightly using the wire connectors (or screws, depending on the thermostat design). Make sure the connections are secure – loose wires can cause malfunctions. If your new thermostat requires a “C” wire (common wire) and you don’t have one, you may need to run a new wire from your heating system control panel, or purchase a “C” wire adapter. Consult your thermostat’s documentation or a professional electrician if you are unsure.
Powering Up and Configuring Your Smart Thermostat
Once all the wires are correctly connected, attach the thermostat display unit to the base plate. Turn the power back on at the circuit breaker. The thermostat should power on and guide you through the initial setup process. This will typically involve connecting to your home Wi-Fi network, setting the date and time, and configuring your preferred heating schedule. Follow the on-screen instructions carefully.
Testing Your New Smart Thermostat
After completing the setup, test your new thermostat thoroughly. Set the temperature a few degrees above and below the current room temperature to ensure the heating and cooling (if applicable) are working correctly. Monitor the system for a while to ensure it’s functioning as expected. If you encounter any problems, consult the troubleshooting section of the installation manual, or contact the manufacturer’s customer support.
FAQ:
Q: What if my thermostat doesn’t have a “C” wire and the new one needs it?
A: You may need to run a new wire, use a “C” wire adapter, or choose a thermostat that doesn’t require one. Consult the installation manual.
Q: Can I install a smart thermostat if I have underfloor heating?
A: It depends on the type of underfloor heating system. Some are compatible, but you’ll need to check the thermostat’s compatibility and wiring requirements.
Q: What if I’m not comfortable working with electrical wiring?
A: If you’re unsure, it’s always best to hire a qualified electrician to install the thermostat for you. Safety should always be the priority.
