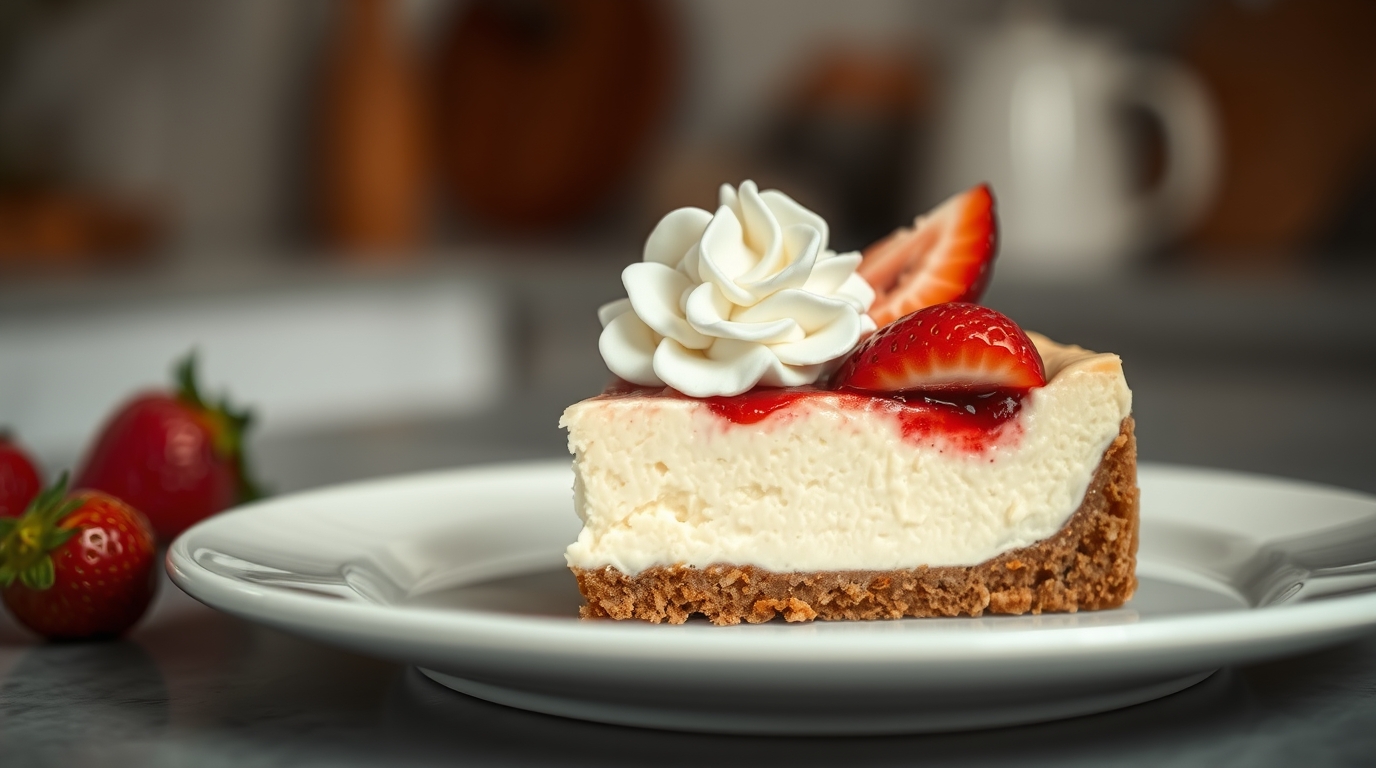
How to Make a No-Bake Cheesecake? This guide provides a simple, step-by-step recipe for creating a delicious, creamy no-bake cheesecake without using an oven!
A Simple Guide How to Make a No-Bake Cheesecake Perfection
What You’ll Need: The Ingredients
Before we dive into the recipe, let’s gather our ingredients. This no-bake cheesecake relies on chilling rather than baking, so the quality of your ingredients is key. Here’s what you’ll need:
- 250g Digestive biscuits (for the base)
- 100g Unsalted butter, melted (for the base)
- 600g Full-fat cream cheese, softened (crucially, softened!)
- 150g Icing sugar, sifted
- 300ml Double cream
- 1 tsp Vanilla extract
- Lemon juice (optional, for a tangy flavour)
- Your choice of toppings: fresh fruit, chocolate shavings, caramel sauce, etc.
Preparing the Biscuit Base
The base is the foundation of your cheesecake, so let’s get it right.
1. Crush the digestive biscuits into fine crumbs. You can use a food processor for this, or simply place them in a zip-lock bag and bash them with a rolling pin.
2. In a mixing bowl, combine the biscuit crumbs and melted butter. Mix well until all the crumbs are evenly coated.
3. Press the mixture firmly into the base of a 20cm (8-inch) springform tin. Use the back of a spoon to create a smooth, even surface.
4. Place the tin in the fridge to chill while you prepare the filling. This will help the base to set firmly.
Creating the Creamy Filling
Now for the star of the show: the creamy, no-bake filling.
1. In a large mixing bowl, beat the softened cream cheese with the sifted icing sugar until smooth and creamy. Make sure there are no lumps.
2. In a separate bowl, whip the double cream until it forms soft peaks. Be careful not to overwhip, as this can make the cream grainy.
3. Gently fold the whipped cream into the cream cheese mixture. Add the vanilla extract and a squeeze of lemon juice (if using) and mix until everything is well combined. The mixture should be light and airy.
Assembling the Cheesecake
With the base chilled and the filling ready, it’s time to bring everything together.
1. Pour the cream cheese filling over the chilled biscuit base.
2. Smooth the top of the filling with a spatula or the back of a spoon.
3. Cover the tin with cling film and refrigerate for at least 6 hours, or preferably overnight. This allows the cheesecake to set properly.
Adding the Finishing Touches: Toppings
Once the cheesecake has set, it’s time to decorate.
1. Carefully remove the cheesecake from the springform tin. You may need to run a knife around the edge to loosen it.
2. Transfer the cheesecake to a serving plate.
3. Decorate with your chosen toppings. Fresh berries, chocolate shavings, caramel sauce, or a simple dusting of cocoa powder all work well.
4. Slice and serve, enjoying the fruits of your labour!
Tips for Success
- Ensure your cream cheese is fully softened before mixing. This will prevent lumps and create a smoother filling.
- Don’t overwhip the double cream. Soft peaks are what you’re aiming for.
- Allow the cheesecake to chill for at least 6 hours, or preferably overnight, for the best results.
- Experiment with different flavourings, such as lemon zest, orange extract, or a swirl of fruit jam in the filling.
FAQ:
Q: Can I use low-fat cream cheese?
A: Using low-fat cream cheese is not recommended, as it will affect the texture of the cheesecake and it may not set properly. Full-fat cream cheese is essential for a creamy, stable dessert.
Q: Can I freeze the cheesecake?
A: Yes, you can freeze the no-bake cheesecake. Wrap it tightly in cling film and then foil before freezing. Allow it to thaw completely in the fridge before serving.
Q: What can I use instead of digestive biscuits?
A: Graham crackers, shortbread biscuits, or even oreos (without the cream filling) can be used as a substitute for digestive biscuits.
external_links:
- https://www.bbcgoodfood.com/recipes/no-bake-cheesecake-recipe – A classic no-bake cheesecake recipe from BBC Good Food.
