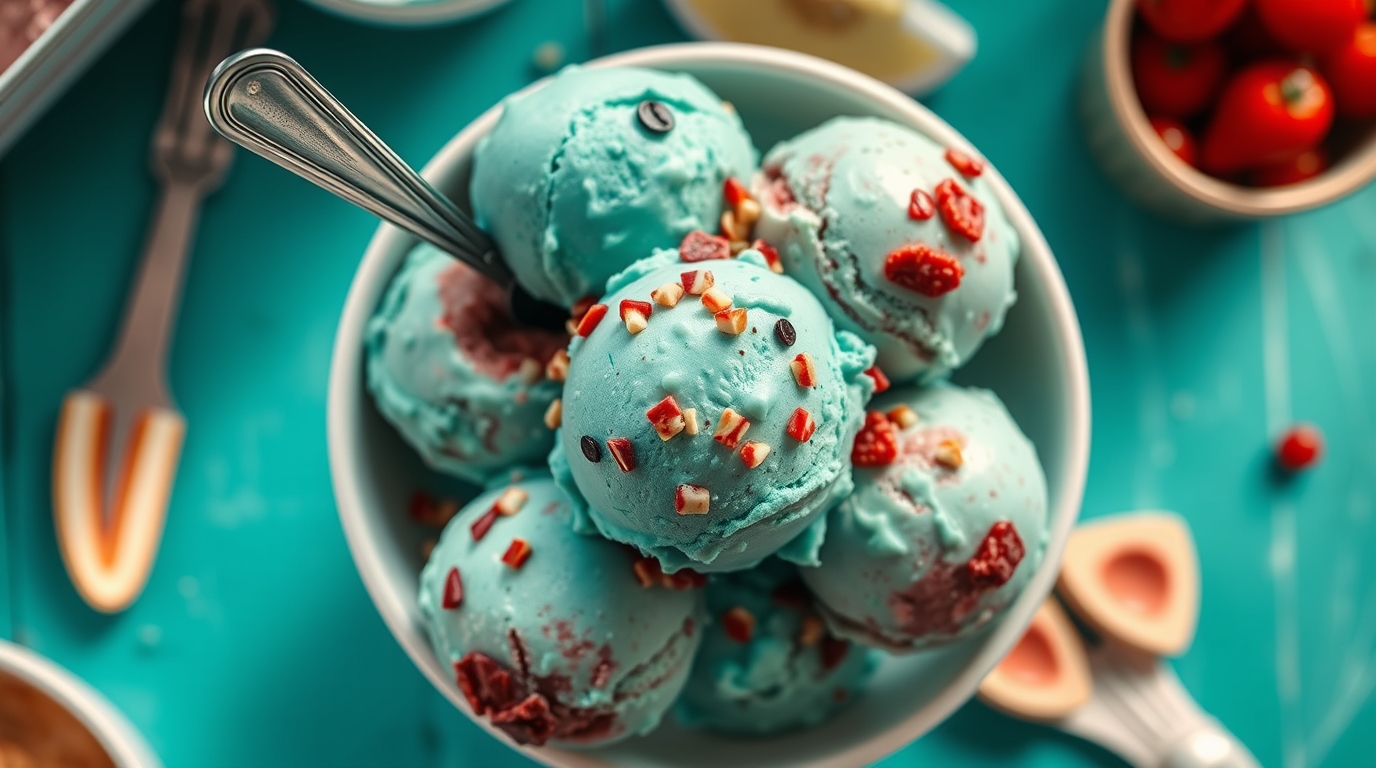
How to Make Homemade Ice Cream Without a Machine. Indulge in creamy, homemade ice cream without the need for expensive equipment. This guide provides simple methods for delicious results.
How to Make Homemade Ice Cream Without a Machine
The Magic of Machine-Free Ice Cream
Making ice cream at home doesn’t have to involve fancy gadgets. While ice cream makers are convenient, it’s perfectly possible – and satisfying – to create delicious, creamy ice cream with just a few simple ingredients and a bit of elbow grease. This method relies on preventing large ice crystals from forming, resulting in a smooth, scoopable treat.
Gathering Your Ingredients
The base for most homemade ice creams is a combination of:
- Double cream (heavy cream): This provides the richness and fat content essential for a creamy texture.
- Full-fat milk: Milk adds moisture and helps to balance the richness of the cream.
- Sugar: Sweetens the ice cream and helps to lower the freezing point, preventing it from becoming too hard.
- Flavourings: This is where you can get creative! Vanilla extract is a classic, but you could also use fruit purees, chocolate, coffee, or even spices.
The Basic Method: No-Churn Ice Cream
This is the simplest method, relying on condensed milk for its sweetness and smooth texture:
1. Whisk together double cream until it forms stiff peaks. Don’t over-whip it, or it will become grainy.
2. Gently fold in condensed milk and your chosen flavourings.
3. Pour the mixture into a freezer-safe container.
4. Freeze for at least 6 hours, or preferably overnight, until solid.
The Hand-Churning Method: More Effort, More Control
This method requires more effort but allows for better control over the ice crystal formation:
1. Combine milk, cream, and sugar in a saucepan. Heat gently over medium heat, stirring until the sugar dissolves. Do not boil.
2. Remove from the heat and add your flavourings.
3. Allow the mixture to cool completely. This can be sped up by placing the saucepan in an ice bath.
4. Pour the cooled mixture into a freezer-safe container.
5. Place the container in the freezer.
6. Every 30-60 minutes for the first 2-3 hours, remove the container from the freezer and vigorously stir or whisk the mixture to break up any ice crystals that are forming. This is crucial for a smooth texture.
7. Return the container to the freezer and continue freezing until solid.
Tips for Success
- Cooling is key: Ensure your mixture is completely cooled before freezing to prevent ice crystals from forming too quickly.
- Stirring is crucial: Regular stirring or whisking during the initial freezing stages is essential for breaking up ice crystals.
- Use good quality ingredients: The better the ingredients, the better the flavour of your ice cream.
- Don’t overfill the container: Leave some space at the top of the container as the ice cream will expand as it freezes.
- For added richness: Consider adding egg yolks to your base. Temper them carefully by whisking a small amount of the hot cream mixture into the yolks before adding the yolk mixture to the rest of the cream. This will create a custard-like base with an even creamier texture.
Flavour Ideas to Get You Started
- Vanilla: A classic and simple flavour that can be enjoyed on its own or used as a base for other flavours.
- Chocolate: Add cocoa powder or melted chocolate to your base for a rich chocolate flavour.
- Strawberry: Puree fresh strawberries and add them to your base for a refreshing summer treat.
- Coffee: Add strong brewed coffee or coffee extract to your base for a caffeinated kick.
- Mint Chocolate Chip: Add mint extract and chocolate chips to your base for a refreshing and decadent flavour.
Serving and Storing Your Homemade Ice Cream
Allow the ice cream to sit at room temperature for a few minutes before scooping. This will soften it slightly and make it easier to scoop. Store leftover ice cream in an airtight container in the freezer. Homemade ice cream is best enjoyed within a week or two, as it may develop ice crystals over time.
FAQ:
Q: My ice cream is too icy. What did I do wrong?
A: You likely didn’t stir or whisk the mixture often enough during the initial freezing stages. This allows large ice crystals to form.
Q: Can I use skimmed milk instead of full-fat milk?
A: While you can, the ice cream will be less creamy. Full-fat milk is recommended for the best texture.
Q: How long does homemade ice cream last in the freezer?
A: It’s best enjoyed within 1-2 weeks. After that, it may develop ice crystals and lose some of its creaminess.
external_links:
- https://www.bbcgoodfood.com/recipes/easy-vanilla-ice-cream – BBC Good Food’s easy vanilla ice cream recipe (requires a machine, but offers base recipe insights).
- https://www.nigella.com/recipes/no-churn-ice-cream – Nigella Lawson’s no-churn ice cream recipe.
