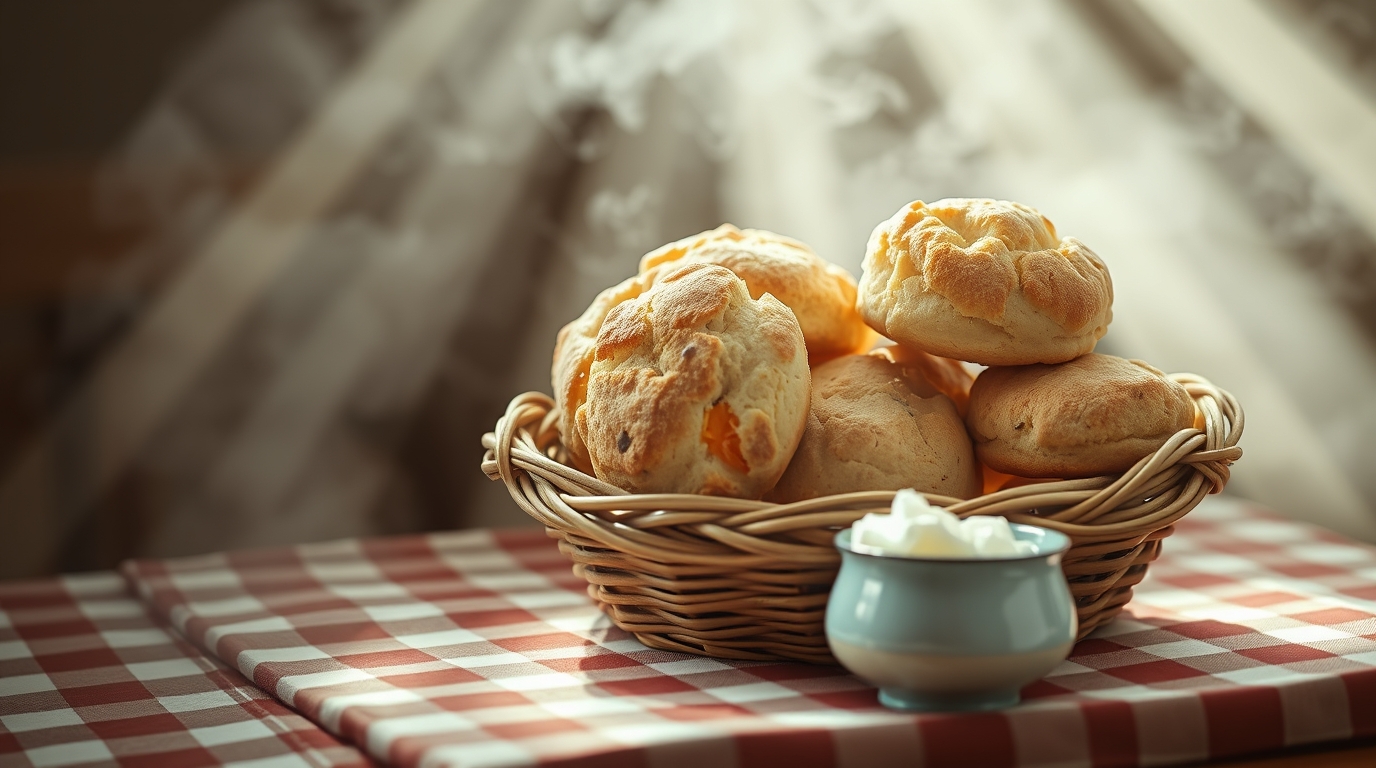
How to Make Scones Like a Pro. Learn all the secrets to baking perfect, light, and fluffy scones every time with this comprehensive guide.
How to Make Scones Like a Pro
Scones. They’re a cornerstone of afternoon tea, a delightful accompaniment to a cup of coffee, and a quintessential British bake. But achieving scone perfection can seem elusive. Too often, scones emerge from the oven hard, dry, or lacking that light, airy crumb we all crave. Fear not! This guide will equip you with the knowledge and techniques to bake scones like a seasoned professional.
Understanding the Key Ingredients
The humble scone relies on just a few key ingredients: flour, raising agent, fat (butter or lard), sugar, and liquid (milk or buttermilk). The quality and proportions of these ingredients are crucial.
- Flour: Self-raising flour is typically used, but you can use plain flour and add baking powder. Always sieve the flour to incorporate air and prevent lumps.
- Raising Agent: Baking powder is the magic ingredient that gives scones their lift. Use fresh baking powder for optimal results.
- Fat: Cold butter, cut into small cubes, is the most common choice. Some bakers prefer using a combination of butter and lard for a richer flavour and flakier texture. Margarine is generally avoided as it can lead to a less desirable outcome.
- Sugar: A small amount of caster sugar adds sweetness and helps with browning.
- Liquid: Milk or buttermilk provides the moisture needed to bind the ingredients. Buttermilk adds a slight tang that complements the other flavours.
The Cold Butter Secret
The single most important tip for achieving light and fluffy scones is to keep the butter cold. Cold butter creates pockets of steam during baking, which helps the scone rise.
- Cut the butter into small cubes and place it in the freezer for 15-20 minutes before use.
- When rubbing the butter into the flour, work quickly with your fingertips, lifting the flour as you go. Avoid overworking the mixture, as this will melt the butter.
- You should aim for a mixture that resembles breadcrumbs.
The Gentle Touch
Overmixing the scone dough is a cardinal sin. It develops the gluten in the flour, resulting in tough, dense scones.
- Once the butter is rubbed into the flour, add the sugar and gently stir to combine.
- Gradually add the liquid, mixing until just combined. The dough should be slightly sticky.
- Turn the dough out onto a lightly floured surface and gently pat it into a round, about 2-3 cm thick.
Cutting and Baking
How you cut and bake your scones also influences the final result.
- Use a sharp cutter to cut out the scones. Avoid twisting the cutter, as this seals the edges and prevents the scones from rising evenly.
- Place the scones on a baking tray lined with baking parchment.
- Brush the tops with milk or egg wash for a golden-brown finish.
- Bake in a preheated oven at a high temperature (around 220°C/425°F/Gas Mark 7) for 12-15 minutes, or until golden brown and well-risen.
Resting and Serving
- Allow the scones to cool slightly on a wire rack before serving.
- Serve warm with clotted cream and jam, or any other topping of your choice.
FAQ:
Q: Why are my scones always hard?
A: Overmixing the dough and using warm butter are the most common culprits. Ensure you use cold butter and mix the dough gently until just combined.
Q: Can I freeze scone dough?
A: Yes, you can freeze scone dough. Cut out the scones and freeze them on a baking tray. Once frozen, transfer them to a freezer bag. Bake from frozen, adding a few extra minutes to the baking time.
Q: What can I use instead of self-raising flour?
A: Use plain flour and add baking powder (approximately 2 teaspoons of baking powder per 225g of plain flour).
external_links:
- https://www.bbcgoodfood.com/recipes/easy-scones A simple scone recipe from BBC Good Food.
- https://www.deliciousmagazine.co.uk/recipes/classic-scones/ A classic scone recipe from Delicious Magazine.
