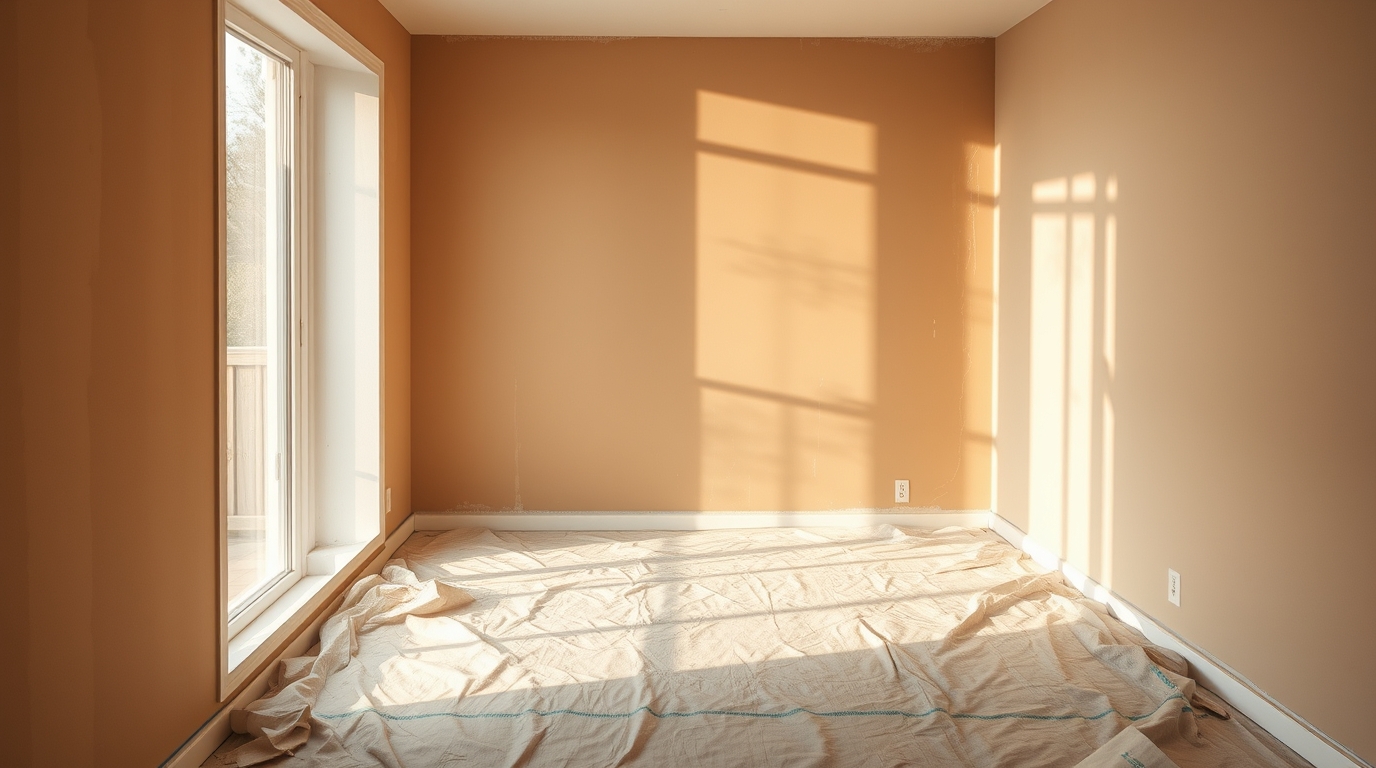
Learn How to Paint a Room Without Making a Mess! Specialist tips and tricks to keep your home spotless during your next painting project.
How to Paint a Room Without Making a Mess
Painting a room can transform your living space, but the thought of the potential mess often puts people off. Splatters, drips, and paint where it shouldn’t be are common anxieties. However, with careful preparation and a methodical approach, you can paint a room efficiently and virtually mess-free. This guide will take you through the necessary steps to protect your belongings and achieve a professional finish without the chaos.
Gathering Your Supplies
Before you even think about dipping a brush, ensure you have everything you need. This prevents mid-painting scrambles, which are often where accidents happen.
- Paint (obviously!) – Calculate the amount based on the room size and the paint’s coverage.
- Paintbrushes – Different sizes and types for various areas.
- Paint rollers – For large, flat surfaces.
- Roller trays – With disposable liners for easy cleanup.
- Painter’s tape – Low-tack for crisp edges.
- Drop cloths – Canvas or plastic, depending on your budget and reuse intentions.
- Cleaning supplies – Damp cloths, sponges, and sugar soap.
- Sugar soap solution – For cleaning walls.
- A ladder or step stool – For reaching high areas.
- A paint can opener – Avoid using screwdrivers and potentially damaging the lid.
- Stirring sticks – For properly mixing the paint.
- Putty knife and filler – For repairing any wall imperfections.
- Sandpaper – For smoothing filled areas.
Preparing the Room
This is arguably the most crucial step. A well-prepared room is significantly less likely to become a disaster zone.
- Clear the room: Remove all furniture possible. If some items are too heavy to move, cover them completely with plastic sheeting.
- Protect the floor: Lay down drop cloths. Canvas drop cloths are preferable for long-term projects and repeated use, as they are less slippery and absorbent than plastic. Secure plastic sheeting with tape.
- Tape off areas: Use painter’s tape to protect skirting boards, window frames, door frames, light switches, and any other areas you don’t want painted. Ensure the tape is firmly pressed down to prevent paint bleed-through.
- Clean the walls: Wipe down the walls with sugar soap and water to remove any dirt, grease, or cobwebs. This ensures better paint adhesion.
- Repair imperfections: Fill any holes or cracks with filler, allow it to dry completely, and then sand it smooth.
Painting Techniques for Minimal Mess
Your painting technique is just as important as your preparation.
- Load your brush or roller carefully: Avoid overloading, which leads to drips. Dip only the bottom third of the brush into the paint. Rollers should be evenly coated but not saturated.
- Wipe off excess paint: Use the edge of the paint can or the roller tray to remove excess paint from your brush or roller.
- Use even strokes: Apply paint in smooth, even strokes, avoiding excessive pressure. Work in manageable sections.
- Prevent drips: Watch for drips and catch them immediately with a damp cloth or brush. Don’t let them dry – dried drips are much harder to remove.
- Use a paint shield: A paint shield is a handy tool for painting edges neatly, especially around windows and doors. It’s essentially a straight piece of metal or plastic that you hold against the surface you want to protect.
- Don’t rush: Take your time and focus on achieving a neat and even finish. Rushing often leads to mistakes and mess.
Cleaning Up Efficiently
Even with the best precautions, a few splatters might occur. Deal with them promptly.
- Clean spills immediately: Wipe up any paint spills as soon as they happen with a damp cloth.
- Wash brushes and rollers: Clean your brushes and rollers thoroughly with warm soapy water immediately after use. Rinse well and allow them to dry completely before storing. Consider using a brush spinner to remove excess water and speed up drying.
- Dispose of paint responsibly: Leftover paint should be disposed of properly. Check with your local council for guidelines on paint disposal.
Removing Tape
The moment of truth!
- Remove tape carefully: Wait until the paint is dry to the touch but not fully cured. Peel the tape away at a 45-degree angle to avoid pulling off any paint.
- Score the edge: If the paint has dried too much, score the edge of the tape with a utility knife before peeling it off. This helps prevent the paint from chipping.
FAQ:
Q: What’s the best type of drop cloth to use?
A: Canvas drop cloths are the best option for durability and absorbency, though more expensive than plastic. Plastic is a budget-friendly alternative, but can be slippery.
Q: How long should I wait before removing painter’s tape?
A: Remove the tape when the paint is dry to the touch but not fully cured, usually 1-2 hours.
Q: How do I clean dried paint splatters?
A: Scrape off the excess with a putty knife, then use a damp cloth and sugar soap to soften and remove the remaining paint.
external_links:
- https://www.dulux.co.uk/en/decorating-tips-and-advice – Dulux’s official website provides helpful tips and advice on painting techniques and colour schemes.
- https://www.diy.com/ideas-advice – B&Q’s advice section offers guides and tutorials on various DIY projects, including painting.
