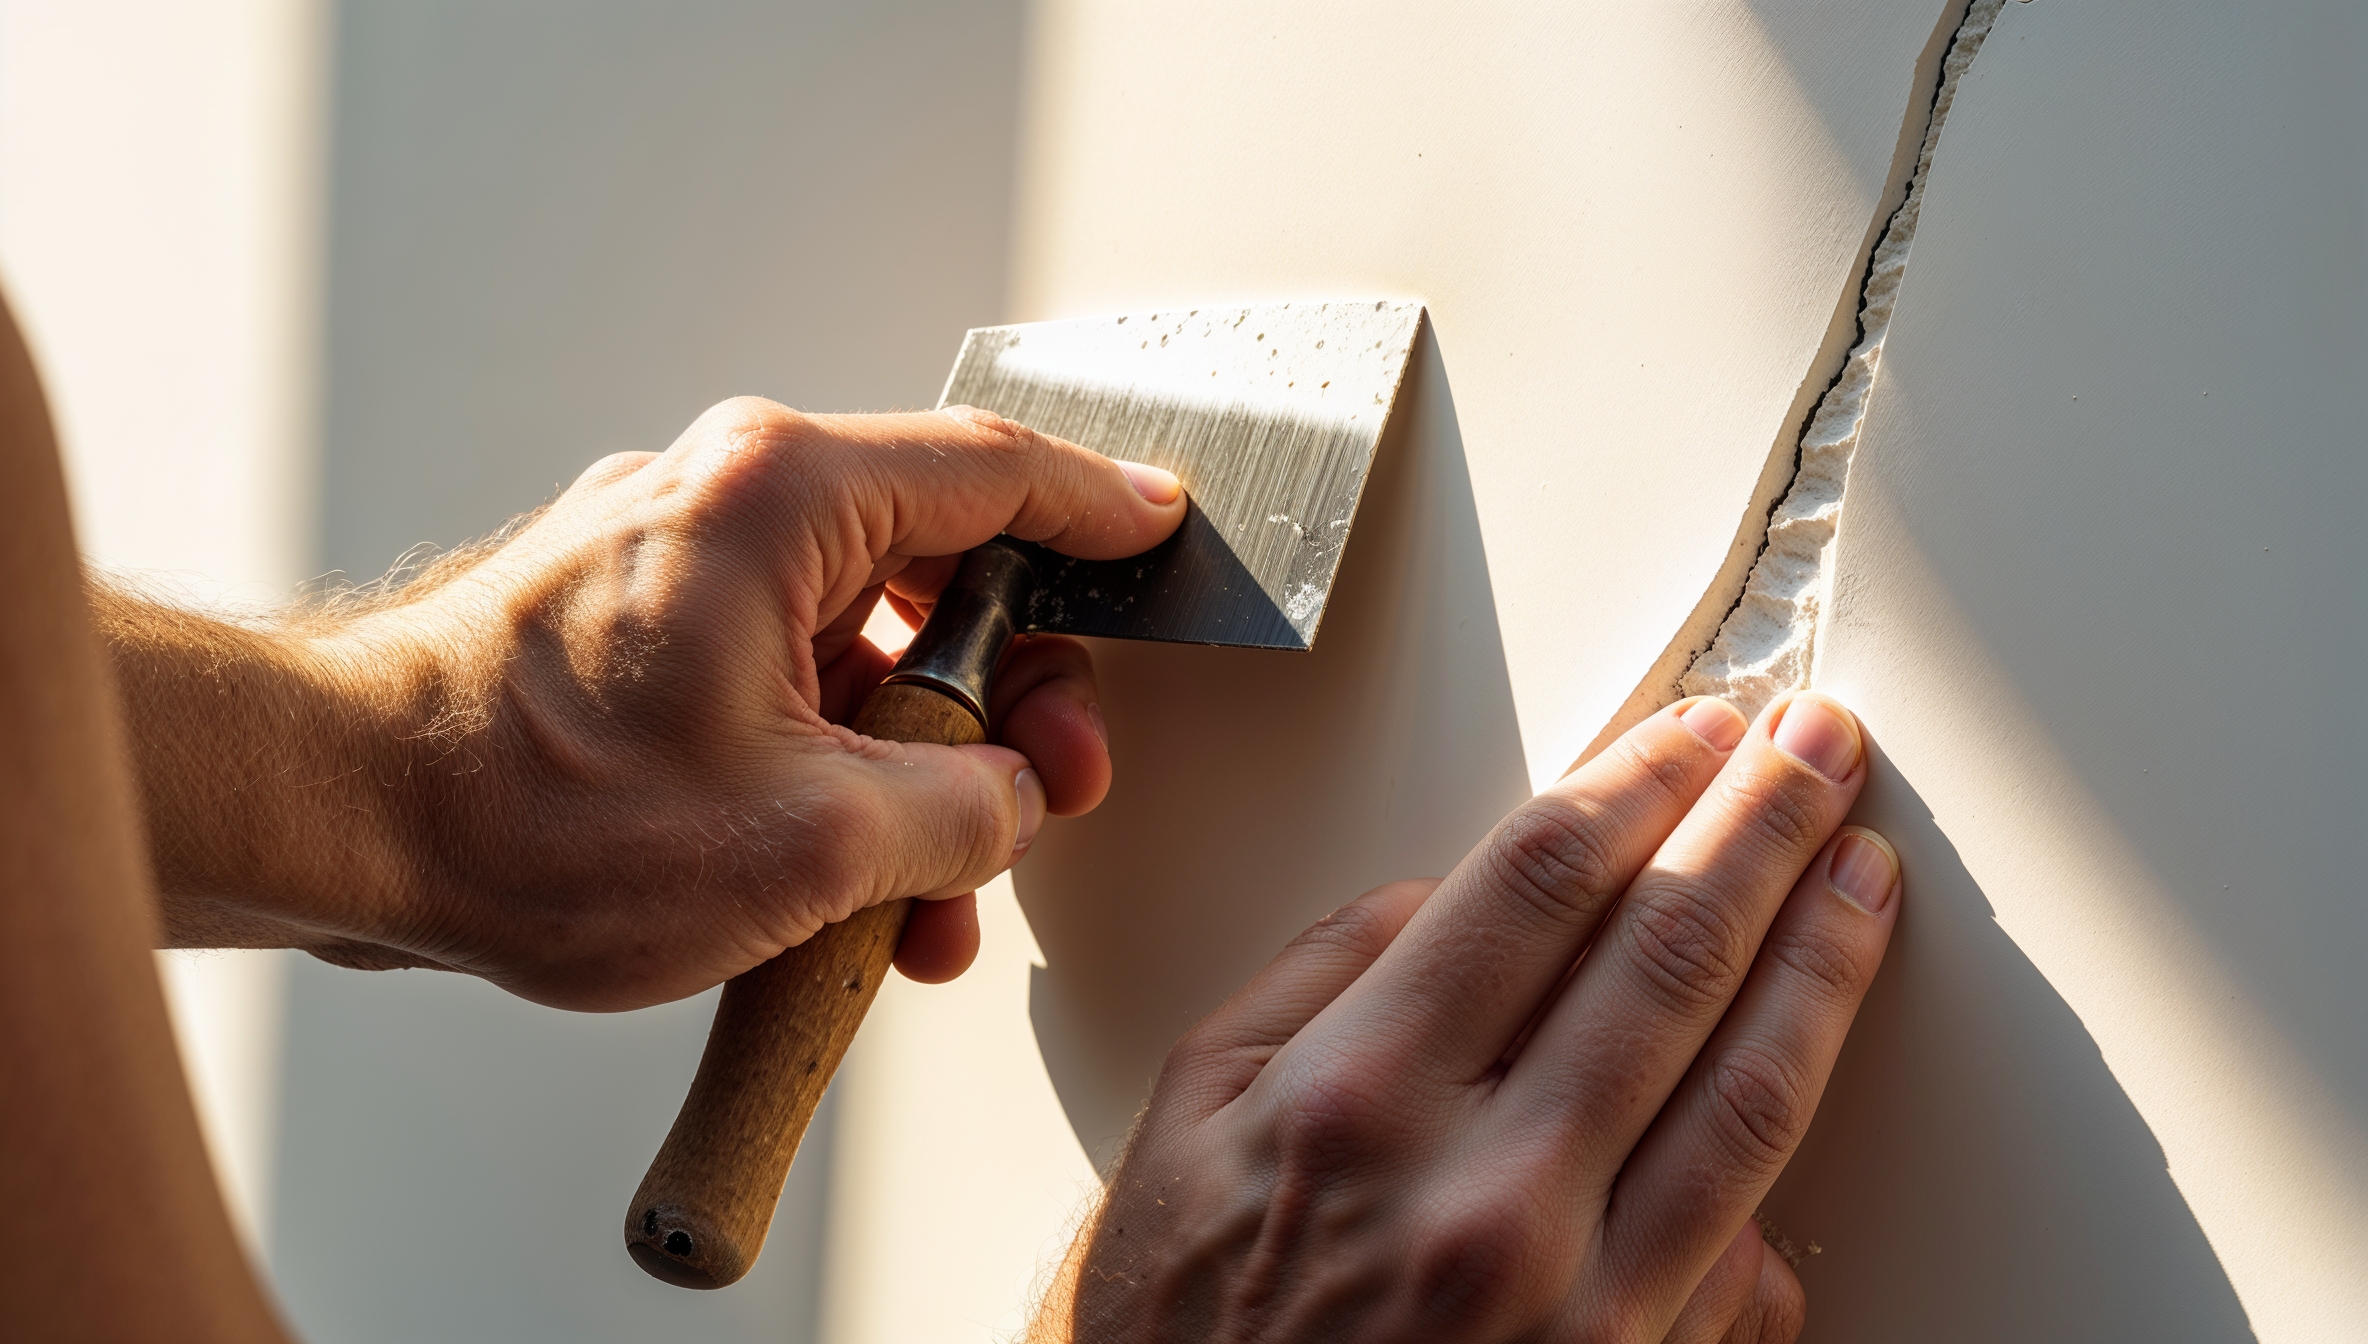
Learn how to repair cracks in walls before painting, ensuring a smooth, professional finish. A step-by-step guide for DIY enthusiasts in the UK.
How to Repair Cracks in Walls Before Painting
Why Repair Cracks Before Painting?
Painting over cracks in walls is a false economy. While a fresh coat of paint might initially disguise the damage, it won’t solve the underlying problem. The cracks will reappear, and in some cases, even worsen. Repairing them properly ensures a smooth, even surface for painting, prevents further damage, and ultimately saves you time and money. It also guarantees a much more professional and aesthetically pleasing finish. Ignoring cracks can also lead to moisture ingress, which can cause more serious problems like damp and mould.
Assessing the Crack
Before you start slapping filler on every crack you see, take a moment to assess the situation. Not all cracks are created equal.
- Hairline Cracks: These are very fine, surface-level cracks. They are usually caused by minor settling of the building or changes in temperature and humidity. They are generally not a major cause for concern.
- Structural Cracks: These are wider and often deeper cracks that may indicate a more serious structural issue. They are usually diagonal or vertical and may run through multiple layers of plaster or drywall. If you suspect a structural crack, it’s essential to consult a structural engineer or building surveyor before attempting any repairs. Attempting to repair a structural crack without addressing the underlying issue can be dangerous.
- Active Cracks: These are cracks that are still growing or changing. You can monitor them by marking the ends of the crack with a pencil and observing if the marks move over time. Active cracks are often a sign of structural movement and should be investigated by a professional.
Tools and Materials You’ll Need
Having the right tools and materials to hand will make the job much easier. Here’s a basic list:
- Utility Knife or Scraper: For widening and cleaning the crack.
- Wire Brush: For removing loose debris.
- Dust Mask: To protect yourself from dust and particles.
- Vacuum Cleaner: For cleaning up dust and debris.
- Filler Knife or Putty Knife: For applying and smoothing the filler.
- Ready-Mixed Filler or Powdered Filler: Choose a filler suitable for the type of wall you are repairing (e.g., plasterboard or plaster).
- Sandpaper (Various Grits): For smoothing the filled area.
- Damp Sponge: For cleaning up excess filler.
- Primer: To prepare the repaired area for painting.
- Paint: To match the existing wall colour.
- Caulk (for hairline cracks only): Can be used instead of filler for very minor cracks.
Step-by-Step Repair Process
Here’s a step-by-step guide to repairing cracks in walls:
1. Prepare the Area: Cover the floor with a dust sheet to protect it. Wear a dust mask to avoid inhaling dust.
2. Widen the Crack: Use a utility knife or scraper to carefully widen the crack. This creates a better surface for the filler to adhere to. Undercut the edges slightly to help the filler key into the wall.
3. Clean the Crack: Use a wire brush to remove any loose debris from inside the crack. Vacuum the area thoroughly to remove any remaining dust and particles. A clean surface is essential for a good bond.
4. Apply the Filler: If using powdered filler, mix it according to the manufacturer’s instructions. Apply the filler to the crack using a filler knife, pressing it firmly into the gap. Overfill the crack slightly, as the filler will shrink as it dries.
5. Smooth the Filler: Use the filler knife to smooth the filler flush with the surrounding wall. Remove any excess filler. A damp sponge can be used to clean up any smudges or smears.
6. Allow to Dry: Allow the filler to dry completely according to the manufacturer’s instructions. This may take several hours or even overnight.
7. Sand the Filler: Once the filler is dry, sand it smooth using progressively finer grits of sandpaper. Start with a medium grit (e.g., 120 grit) and finish with a fine grit (e.g., 220 grit) to blend the repaired area seamlessly with the surrounding wall.
8. Prime the Area: Apply a coat of primer to the repaired area. This will help the paint adhere properly and ensure a uniform finish.
9. Paint the Wall: Once the primer is dry, paint the entire wall with your chosen paint. Apply two coats for best results.
Dealing with Hairline Cracks
Hairline cracks are often superficial and can be easily repaired. You can use ready-mixed filler or caulk to fill them. Apply the filler or caulk to the crack, smooth it with a filler knife or damp sponge, and then sand it smooth once it’s dry. Remember to prime and paint the repaired area.
Preventing Future Cracks
While you can’t always prevent cracks from appearing, there are some things you can do to minimise their occurrence.
- Maintain Proper Humidity Levels: Extreme fluctuations in humidity can cause walls to expand and contract, leading to cracks.
- Avoid Overloading Walls: Hanging heavy items on walls can put stress on the structure and cause cracks to form.
- Address Water Leaks Promptly: Water damage can weaken walls and make them more susceptible to cracking.
