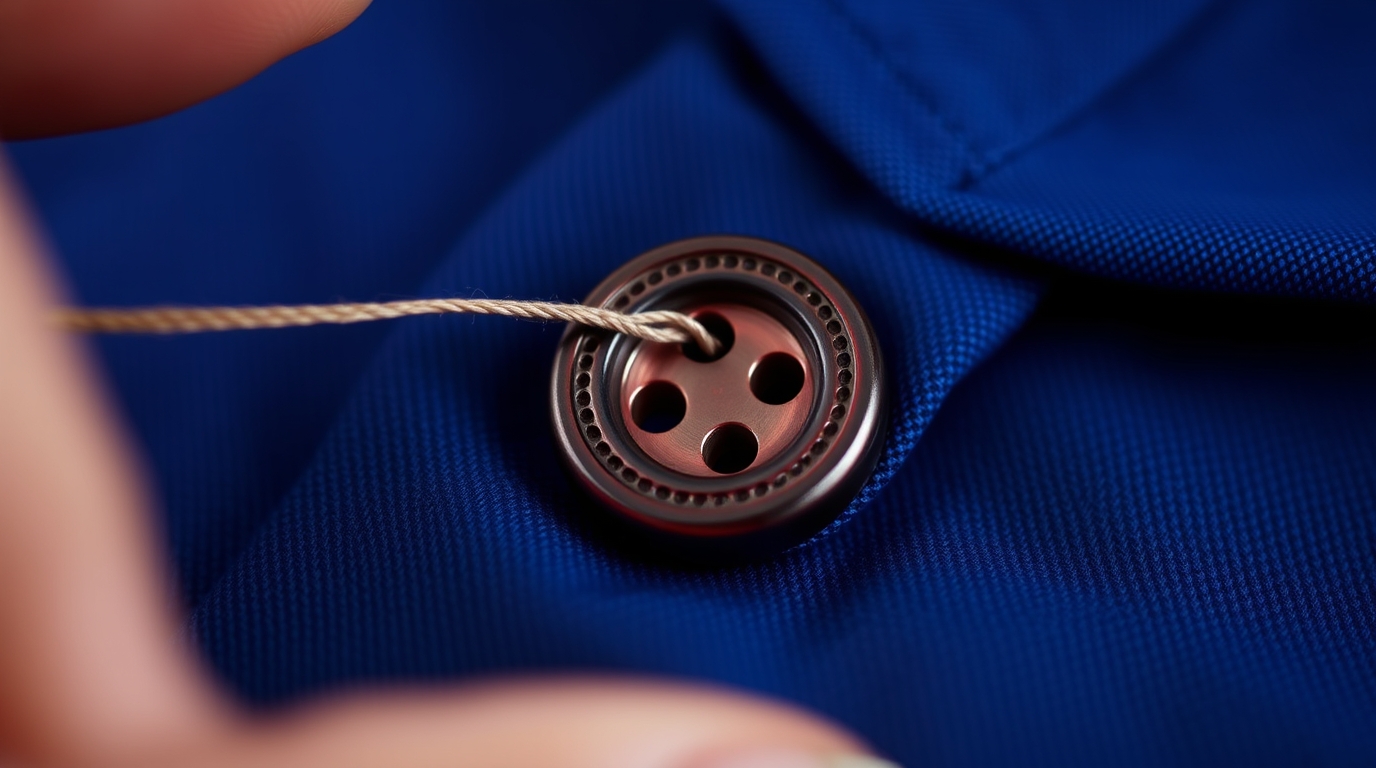
Meta description: Learn How to Sew on a Button Securely with this comprehensive guide. From choosing the right thread to creating a secure shank, we’ve got you covered.
How to Sew on a Button Securely
Sewing on a button might seem like a small task, but a poorly attached button can quickly ruin your garment. This guide will walk you through the steps to sew on a button securely, ensuring it stays put for the long haul.
Gathering Your Supplies
Before you begin, gather the necessary materials:
- The button (obviously!)
- A needle that is small enough to pass through the button holes, but large enough to carry your chosen thread.
- Thread that matches the colour of your garment (or a contrasting colour if you prefer). Button or upholstery thread is recommended for extra strength.
- Scissors.
- A seam ripper (useful for removing old thread or repositioning the button).
- A pin or toothpick (to create a thread shank).
- Thimble (optional, but recommended if you sew frequently).
Preparing the Thread and Needle
Cut a length of thread approximately 18 inches (45cm) long. Thread the needle and tie a secure knot at the end of the thread. A double knot is often best for added security.
Positioning the Button
Carefully position the button on the garment where the original button was (or where you want it to be if it’s a new button). Use the garment’s buttonhole as a guide for placement. It’s crucial to position the button correctly, so that when fastened it doesn’t strain the fabric. A small piece of fusible interfacing on the wrong side of the fabric can provide additional stability, especially on thinner fabrics.
Sewing the Button On
Bring the needle up through the fabric from the wrong side, precisely where you want the centre of the button to be. Then, pass the needle up through one of the buttonholes.
- Place a pin or toothpick on top of the button, across the centre. This will create a thread shank, allowing the button to sit properly when fastened.
Bring the needle down through the opposite buttonhole, and then back down through the fabric to the wrong side. Repeat this several times (at least 4-6 times) for each pair of holes, sewing over the pin or toothpick each time. The number of stitches depends on the weight of the fabric and the size of the button – heavier fabrics and larger buttons will need more stitches.
Creating the Shank
Once you’ve sewn through the button a sufficient number of times, remove the pin or toothpick. Now, bring the needle up through the fabric to the base of the button.
Wrap the thread tightly around the threads between the button and the fabric, creating a shank. This shank allows room for the fabric to sit comfortably between the button and the garment when the button is fastened. Wrap the thread around the shank several times until it feels firm and secure.
Securing the Thread
To secure the thread, push the needle through the shank and then down through the fabric to the wrong side. Tie a small knot close to the fabric. You can create a second knot for extra security.
Finishing Up
Cut the thread close to the knot. Ensure there are no loose ends. Your button is now securely attached! Give the button a gentle tug to test its strength.
FAQ
What kind of thread should I use?
Button thread or upholstery thread is the strongest option. Failing that, use good quality thread that matches your fabric.
How do I create a shank if I don’t have a pin?
You can use a toothpick, a darning needle, or even a small piece of card to create the shank.
What if my button has four holes?
Sew through each pair of holes as described above, creating an “X” pattern.
external_links:
