Learn How to Transfer Photos from Phone to Computer quickly and easily. Multiple methods explained, including USB, cloud services, and email.
How to Transfer Photos from Phone to Computer
Transferring photos from your phone to your computer is a common task, whether you want to back them up, edit them on a larger screen, or simply free up space on your phone. Thankfully, there are several methods you can use to achieve this, each with its own advantages and disadvantages. This guide will walk you through the most popular options.
Using a USB Cable
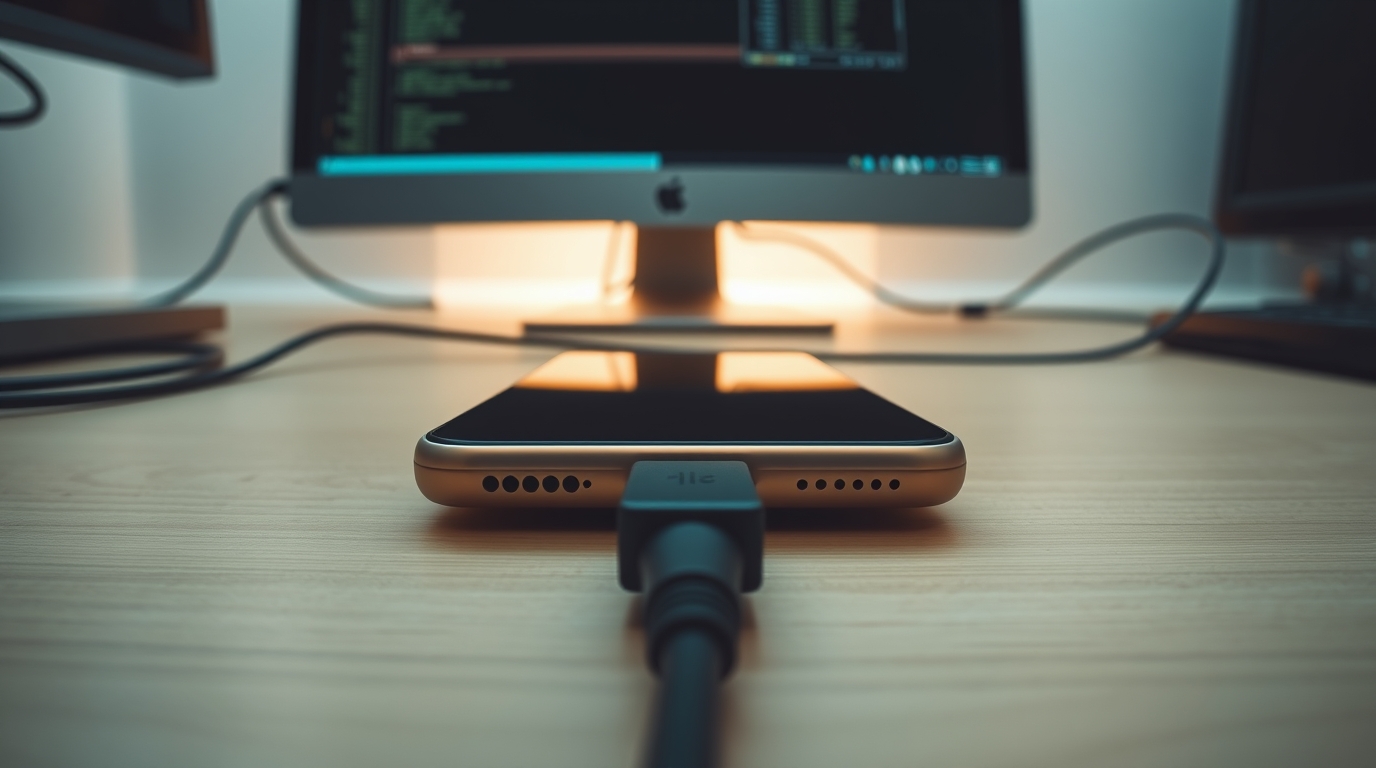
The most straightforward method is often connecting your phone to your computer using a USB cable. This is usually the fastest way to transfer large numbers of photos.
- Connect your phone to your computer using the USB cable that came with your device (or a compatible one).
- On your phone, you may need to select “Transfer files” or “MTP” (Media Transfer Protocol) when prompted. Some phones automatically connect in this mode.
- On your computer (Windows), your phone should appear as a removable drive in File Explorer (usually under “This PC”). On a Mac, you might need to install Android File Transfer if it’s an Android phone.
- Open the drive representing your phone and navigate to the folder where your photos are stored. This is often labelled “DCIM” (Digital Camera Images) or “Pictures”.
- Select the photos you want to transfer and drag and drop them to a folder on your computer. Alternatively, you can copy and paste them.
- Once the transfer is complete, safely eject your phone from your computer before disconnecting the USB cable.
Using Cloud Storage Services
Cloud storage services like Google Photos, Dropbox, OneDrive, and iCloud (for iPhones) offer a convenient way to automatically back up your photos and access them from any device.
- Ensure you have a cloud storage service installed on both your phone and your computer.
- Configure the app on your phone to automatically back up your photos to the cloud. Most services offer this option.
- On your computer, install the desktop application for the same cloud storage service.
- The photos will automatically sync from your phone to the cloud and then to your computer. This may take some time depending on the number of photos and your internet connection speed.
- The photos will be available in a dedicated folder on your computer (e.g., a Google Photos folder).
Using Email
For transferring a small number of photos, emailing them to yourself is a quick and easy option.
- Open your email app on your phone.
- Create a new email and enter your own email address in the “To” field.
- Attach the photos you want to transfer to the email.
- Send the email.
- Open your email on your computer and download the attached photos.
Using Bluetooth
Bluetooth is another option for transferring photos wirelessly, but it is generally slower than other methods.
- On your computer, ensure Bluetooth is enabled.
- On your phone, enable Bluetooth and search for available devices.
- Select your computer from the list of available devices. You may need to pair the devices by entering a passcode on both devices.
- Once paired, you can send photos from your phone to your computer via Bluetooth. The exact process will vary depending on your phone’s operating system. You might need to use the “Share” option on your phone and select Bluetooth as the sharing method.
- Your computer will likely prompt you to accept the incoming file. Choose a location to save the photos.
Using File Transfer Apps (Android)
Several third-party file transfer apps are available on the Google Play Store that can simplify the process, especially for larger files. These often use Wi-Fi Direct for faster speeds.
- Install a file transfer app on both your phone and your computer (examples include SHAREit, Xender, or AirDroid).
- Follow the app’s instructions to connect your phone and computer. These apps typically involve scanning a QR code or entering an IP address.
- Select the photos you want to transfer on your phone and send them to your computer using the app’s interface.
FAQ:
Q: How do I transfer photos from my iPhone to a Windows computer?
A: The easiest way is usually via USB cable. Connect your iPhone, unlock it, and trust the computer when prompted. You should then be able to access your photos in File Explorer. You can also use iCloud for Windows to sync your photos.
Q: My photos are not showing up when I connect my Android phone to my computer via USB. What should I do?
A: Make sure your phone is unlocked and set to “Transfer files” or “MTP” mode in the USB connection settings. If that doesn’t work, try a different USB cable or port.
Q: Is it safe to use third-party file transfer apps?
A: While many are legitimate, it’s crucial to download apps only from trusted sources like the Google Play Store and check their reviews before installation. Be mindful of the permissions they request.
external_links:
- https://support.google.com/photos/answer/6193313?hl=en-GB – Google Photos support page: Explains how to back up photos and videos.
- https://support.apple.com/en-gb/HT210321 – Apple support page: Explains how to transfer photos and videos from iPhone to your computer.


