
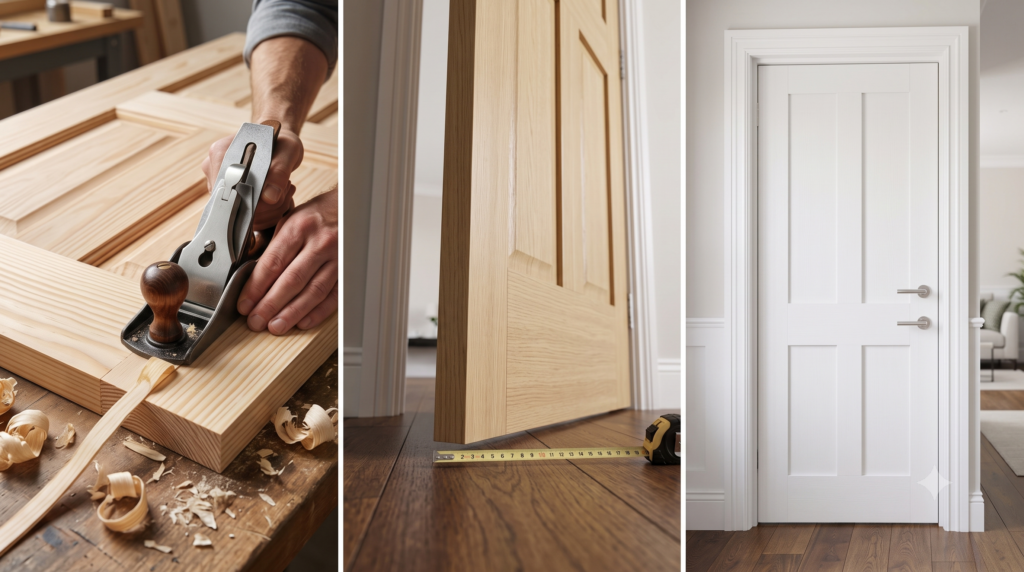
Give your home a fresh new look! Master how to hang an internal door with our simple, friendly 9-step DIY guide to trimming, chiselling, and fitting.
How to Hang an Internal Door
Upgrading your interior woodwork is highly rewarding. Hanging a brand new panelled door completely transforms the look and feel of any room in your house. While it might look like a job for professional carpenters, anyone with patience and the right toolkit can tackle it. If you have ever stared at a blank timber blank and wondered how to hang an internal door without making a total mess of the hinges, you are in exactly the right place.
In this practical and friendly guide, we are going to break down exactly how to hang an internal door using straightforward, step by step techniques. By following our easy steps, you will master how to hang an internal door ensuring your new woodwork fits perfectly and swings open like an absolute dream.
Materials and Tools You Will Need
Organising your workspace beforehand ensures a completely smooth installation process.
For the Fitting Process
- Your chosen internal door (Solid core doors offer great insulation, while hollow core doors are lightweight and budget friendly).
- Two or three high-quality hinges (75mm brass or steel butt hinges are standard for internal rooms).
- A box of 25mm and 35mm wood screws
- A roll of heavy-duty masking tape
- Medium and fine grit sandpaper
Essential DIY Tools
- A sharp hand saw or electric planer (Crucial for trimming down the timber to size).
- A sharp chisel and a heavy mallet (For cutting the tidy hinge recesses).
- A tape measure and a sharp pencil
- A cordless drill with appropriate screwdriver bits
- A hand plane and wood wedges
Why Proper Measurement Is Your Secret to Success
The secret to a perfectly swinging door lies entirely in your patience during the initial measurement stages.
When you learn how to hang an internal door, rushing to screw things into the frame without checking your clearances is a massive mistake. Timber naturally expands in damp winter air and contracts during dry summer months. If you do not leave a consistent three millimetre gap around the top and sides, your new door will stick, scrape, or jam constantly. Mastering how to hang an internal door means making tiny, precise adjustments rather than taking off massive chunks of timber all at once. This careful approach protects your expensive new door while making sure the latch lines up with the frame completely effortlessly.
How to Hang an Internal Door in 9 Easy Steps
Here is your structured blueprint to achieving a professional finish in your own time.
- Measure the Existing Door Frame. Take horizontal measurements across the top, middle, and bottom of the frame, then measure the vertical height. Use these dimensions as your starting guide to ensure a clean fit.
- Trimming the Timber to Size. Hold your new door against the frame opening to check the fit. Use an electric planer or hand saw to carefully trim the bottom and sides down until the door fits snugly.
- Establish Your Clearance Gaps. Place wooden wedges under the door to lift it inside the frame, keeping a consistent two millimetre gap at the top and sides for smooth movement.
- Mark Your Hinge Positions Clearly. While the door is wedged, use a sharp pencil to mark the hinge positions on both the door edge and the frame to make alignment easy.
- Chisel out the Hinge Recesses. Take the door down and place it on its side. Score the pencil lines and use your chisel to gently remove timber down to the depth of the hinge flap.
- Fix the Hinges to the Door. Position the hinges into their new recesses and pre-drill pilot holes. Drive the screws into the door edge securely to avoid splitting the timber frame.
- Attach the Door to the Frame. Lift the door back up and support it with your wedges. Screw the top hinge flap into your pre-marked position on the frame first, followed by the bottom hinge.
- Test the Swing and Clearances. Remove the wedges and gently open and close your new door a few times. Check that the edges do not rub against the frame or the carpet. Knowing how to hang an internal door properly requires ensuring smooth, effortless functionality before finishing the wood.
- Install the Latch and Handles. Measure the height of your existing strike plate on the frame, then drill the holes into your new door to install the latch mechanism and handles. Now that you know how to hang an internal door, your room will look beautifully updated!
Now that you have mastered this classic woodworking skill, you can confidently upgrade every room in your property. Managing your measurements properly always yields the absolute best results. Happy building!
Frequently Asked Questions
Do I need two or three hinges for an internal room?
Lightweight hollow core doors generally only require two hinges, but if you are fitting a heavy solid oak door, always use three hinges to prevent the timber from sagging over time.
Should I paint the door before or after hanging it?
It is always best to do your trimming, chiselling, and test fitting first. Once you know it fits perfectly, take it down to apply your paint or varnish before hanging it permanently.