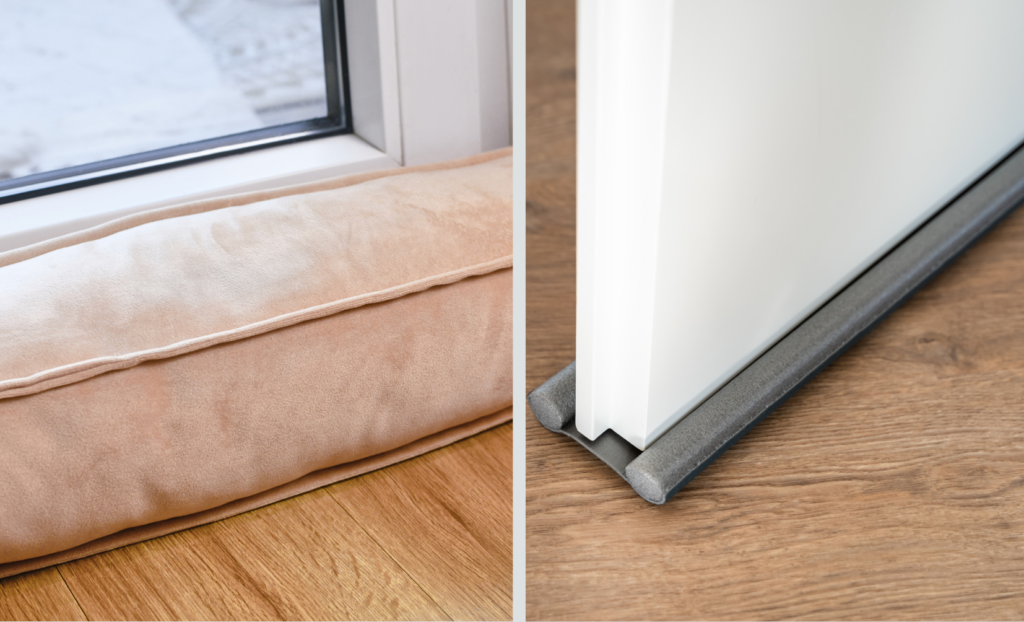
Keep your home warm and lower your energy bills. Learn how to fit a draft excluder to a front door with our simple UK step-by-step DIY installation guide.
How to Fit a Draft Excluder to a Front Door
With the unpredictable British weather, keeping your home warm and cosy can sometimes feel like a full-time job. While turning up the central heating is the easiest option, it can quickly lead to sky-high energy bills if your property is losing heat through gaps under your external entrances. If you want to make your living space more energy-efficient, learning how to fit a draft excluder to a front door is a brilliant, low-cost weekend project.
Cold air creeping in under the threshold is one of the most common causes of heat loss in UK households. A simple brush or rubber strip attached to the bottom of your entranceway acts as a barrier against chilly winter winds. In this comprehensive home improvement guide, we will walk you through exactly how to fit a draft excluder to a front door quickly and successfully, ensuring your hallway stays perfectly warm.
Prerequisite Checks Before You Begin
Before you run down to your local hardware shop to purchase your materials, you need to assess your workspace. Knowing how to fit a draft excluder to a front door flawlessly relies heavily on taking proper measurements and choosing the right style for your home.
- Identify the door material: This guide primarily covers standard timber or solid wood structures. If you have a uPVC composite entranceway, check the manufacturer’s instructions, as you may need to use specialised heavy-duty adhesive tape rather than screws.
- Measure the gap width: Check the distance between the bottom of the wood and the flooring or threshold strip. This ensures you buy a brush or rubber seal that is deep enough to block the wind without scraping your carpet or tiles.
- Inspect the floor level: Open and close the entranceway fully to see if the floor slopes. An uneven floor might cause a rigid strip to catch or jam when the wood swings inward.
5 Steps to Fit a Draft Excluder Perfectly
Follow this precise sequence to install your new weatherproofing strip. Taking your time during the measuring and cutting stages will guarantee a clean, professional finish that lasts for years.
1. Measure the width of the entranceway:
Keep the door firmly closed. Use a metal tape measure to find the exact width of the internal face of the wood from one edge of the frame to the other. Do not guess the measurement, as even a minor mistake can leave small gaps where wind can still enter.
2. Mark and cut the strip to size:
Transfer your measured width onto the back of your new metal or plastic brush strip using a pencil. Use a hacksaw to cut cleanly through the rigid carrier strip, then use a pair of sharp wire cutters or pliers to trim the remaining nylon bristles to match.
3. Position the device for alignment:
Hold the freshly cut strip against the bottom of the closed entranceway. The nylon bristles or rubber seal should just touch the floor surface or the threshold bar below. It needs to form a complete seal without causing any resistance when you try to move the wood.
4. Mark and drill the pilot holes:
While holding the strip perfectly level in place, use a sharp bradawl or a pencil to mark the exact centre of the pre-drilled fixing slots onto the wood. Remove the strip and use a small two-millimetre drill bit to create shallow pilot holes, which prevents the timber from splitting.
5. Fix the excluder securely in place:
Align the strip back over your pilot holes. Insert the small screws provided in your kit and tighten them firmly using a manual screwdriver. Avoid using an electric drill on full power here, as you risk stripping the wood or warping the plastic casing of the product.
What to Do After Your Installation Is Complete
Once you finish the main installation process and fully understand how to fit a draft excluder to a front door, you must test your handiwork. Open and close the entranceway several times to ensure it swings smoothly. If you feel the brush dragging heavily against the floor, simply loosen the fixing screws slightly, slide the adjustable strip upward by a millimetre or two, and tighten the screws back down.
After securing the main threshold, you can look at reinforcing the rest of the frame. Applying self-adhesive foam weather strips along the side jambs and top frame will complement your work perfectly. Learning how to fit a draft excluder to a front door is the most critical step, but tackling the entire perimeter will give you the ultimate protection against the cold.
Common Mistakes to Avoid
When figuring out how to fit a draft excluder to a front door for the first time, small installation errors can lead to sticking issues. Avoid these frequent pitfalls:
- Cutting the product too short: Always measure twice and cut once. A gap of just a few millimetres at either end will completely ruin the effectiveness of the insulation.
- Mounting the strip too low: Forcing the bristles to crush hard against the carpet will quickly wear out the product and put unnecessary strain on your hinges.
- Forgetting to clear the work area: Always sweep away any hidden dust, dirt, or stray wood shavings from the floor surface before checking your final alignment.
If you follow these steps carefully, you will know exactly how to fit a draft excluder to a front door whenever you notice an annoying chill in your hallway.
Frequently Asked Questions
Which is better, a brush strip or a rubber seal?
Brush strips are generally preferred for internal floors that have carpets or uneven tiles because the flexible bristles can glide over imperfections easily. Rubber seals offer an exceptionally tight barrier against wind and rain, making them perfect for smooth wooden floors or flat stone thresholds.
Can I learn how to fit a draft excluder to a front door if I rent my property?
Yes, you absolutely can. If your landlord does not want you drilling screws into the timber, you can purchase heavy-duty self-adhesive versions instead. These stick firmly to the base of the frame and can be removed cleanly later without leaving permanent marks.
How long do these insulation products typically last?
A well-installed metal brush strip can easily last for five to ten years. You will only need to replace the unit if the bristles become badly clogged with dirt or if the plastic carrier becomes warped over time.